It has been over nine months since I last played Spearhead! Through a convoluted series of distractions, my mind had settled on "giving it another go"... so I picked up the new Sand & Bone set, painted all the terrain bits, and was ready to play Wednesday afternoon!
Orion met me at the Warhammer Store with her Soulblight Gravelords army and we tried out the new Sand and Bones set.
I brought the Sylvaneth Bitterbark Copse.
I won the roll off and decided to be the attacker. Orion chose the Ossia (sand) side of the board to play on and the angled Deployment Zones.
We set up the Crypt of Blood in the middle of the board. There is actually NOWHERE in the rules that explains were the Crypt of Blood or the Icon of Neferata are to be used.
Having read through the Twist Card Decks for the two sides of the board I'd discovered that the Icon of Neferata is placed on the Dolorum side of the board if a particular twist card is drawn. There was no similar twist card in the Ossia Twist Deck. I did find a teeny-tiny icon with "Crypt of Blood" printed in tinier letters on one of the deployment maps in Battleplan sections... it's on the image showing the angled deployment zone. The examplt is the Ossia map... but there's noting that STATES this is for the Ossia map only, it could just as easily mean the Crypt of Blood is set up in the center of the map if using the angled deployment... The only thing that might suggest otherwise is that the rules for placing the OTHER terrain bits states that they cannot be placed on an objective area... and the Dolorum side of the map has an objective area right in the middle of the map...?
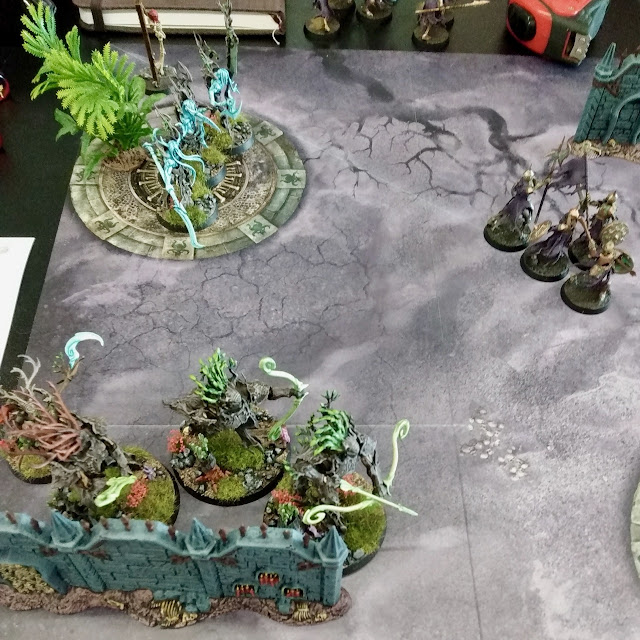
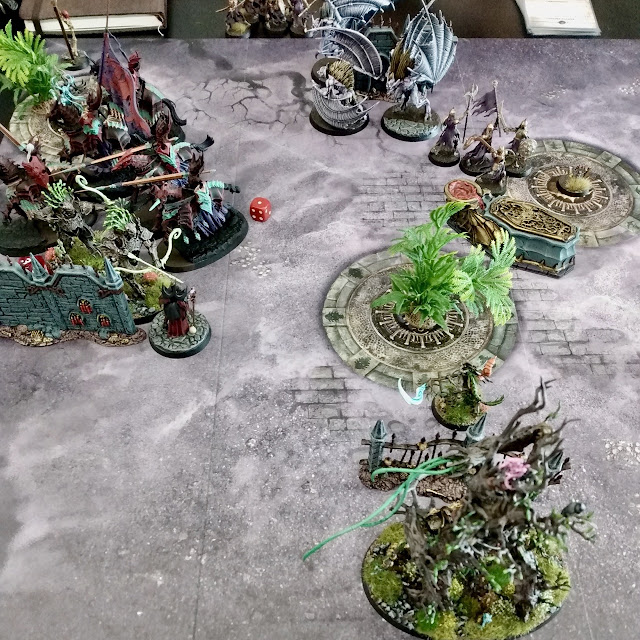
On my first turn the Tree-Revenants rushed forward on my right flank and secured the objective area there...
On the left flank the Kurnothi Hunters lumbered forward and secured the objective area there, and took a few shots at the Deathrattle Skeletons there... had I remembered how terrain and cover works (it doesn't...) I would have shot at the Vampire... alas... a few of the skeletons were shattered by the arrows of their great bows.
In the centre the Treelord plodded up to one of the Objective Areas and hung out here.
And that was it. I made no attempt to get into contact and attack any enemy units... The purpose isn't to kill enemy units. Though there are SOME advantages if you just kill them all off... It's easier to maneuver around and score objectives if there are no enemy on the table... the Soulblights are just SO HARD to actually kill!? They just keep coming back like a bad case of herpes! So, I avoided confrontation on my first turn as I was unlikely to do anything useful... and they'd just get more chances to prune my trees.
At the end of my turn I scored five points. Three were for holding more than two objectives, and the other two were from Objective cards (one required I have units within 3" of the enemies long table edge - which the Kurnothi were - and the other required holding the Necropolis Objective - which... one of my units was holding...
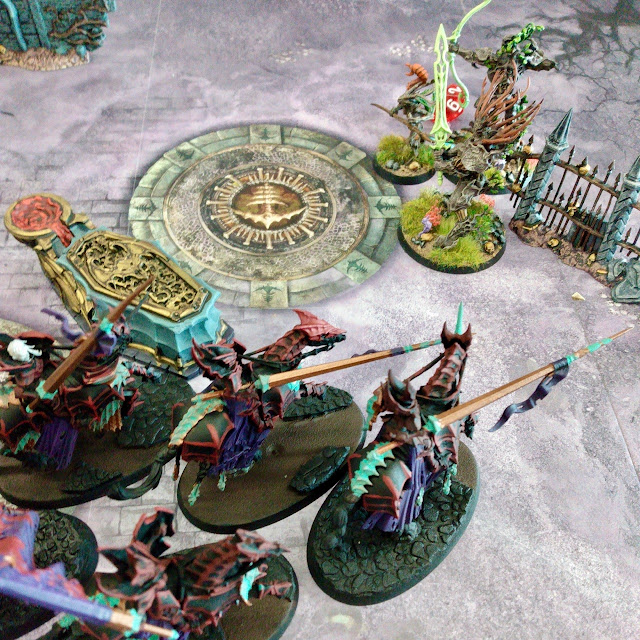
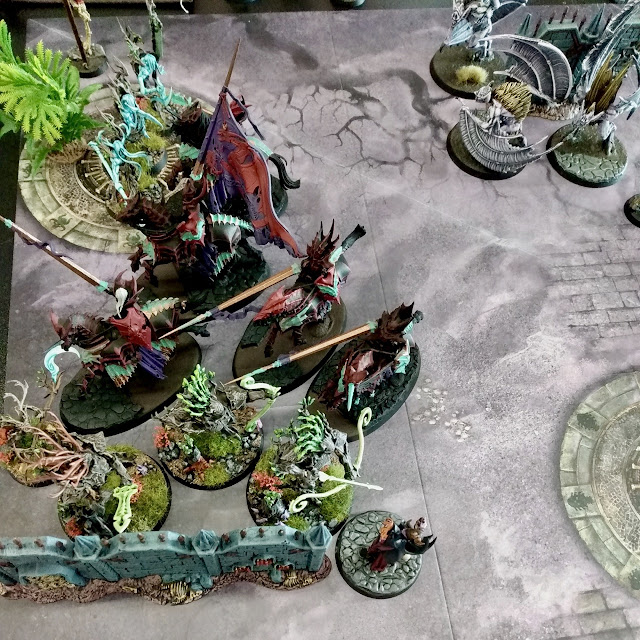
On the Soulblight Gravelords turn, the Blood Knights charged the Treelord.
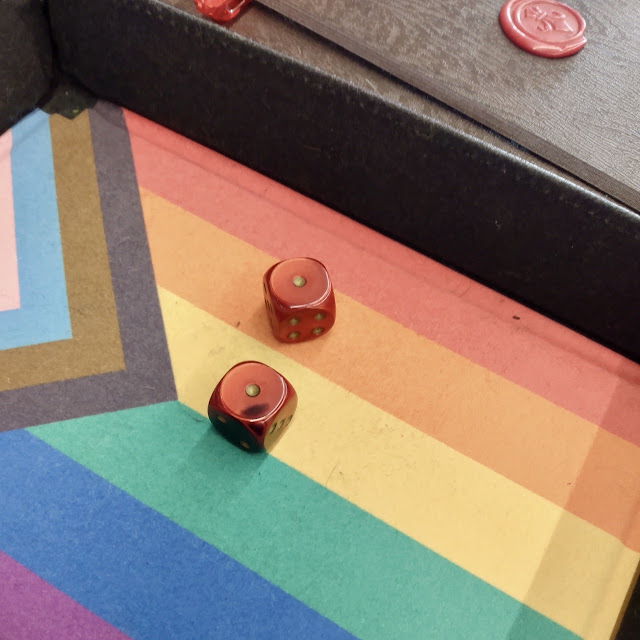
The Bloodknights drank of the Crypt of Blood - a thing a unit can do if within 6" during the Combat Phase - they roll d6, on a 4+ they get +1 to all attack rolls (so, for the Bloodknights, they would be hitting on 2+), if they fail (roll 1-3) they take d3 mortal wounds... which don't really matter at all to the Bloodknights as for ever wound they deal, they heal one wound! (Unless they failed and rolled a 3 on the d3... that would have taken out a bloodknight... but there was only a 16% chance of that happening and a 50% chance of hitting on 2+, so Orion went for it... and succeeded)
So they killed the Treelord on Round One... before it even got to hit anything!?
The Vampire Lord and a unit of Deathrattle Skeletons charged the Kurnothi.
One of the Kurnothi was killed and another injured...
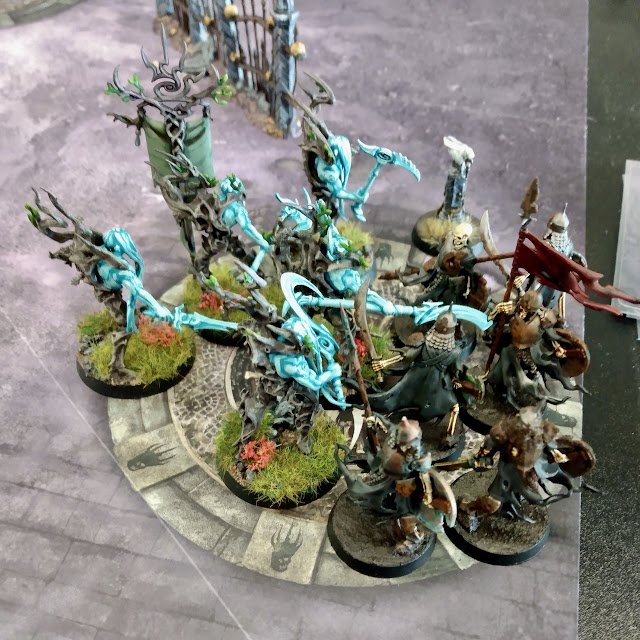
The Tree-revenants fought the other group of Deathrattle Skeletons.
I think a few Tree-Revenants were killed, but I forgot to remove them before taking the second picture...?
The Soulblight Gravelords also scored five victory points - two for Objectives they controlled and THREE from cards! No underdog in Round Two!
I mostly tried to AVOID the Vampires... it seems like anytime I fight them. I do a few wounds... then they kill my guys and heal right back up!? Same with the Skeletons... you kill a few... then they just get right back up on their next turn (they roll a die for each one currently out of action and on a 5+ they return to the unit...)
On my turn, I used Strike and Fade (to move the Kurnothi that were in combat) and Walkers on the Hidden Paths (to move the Branchwych who wasn't), to seize the objective in the middle that wasn't held - to hold one objective and score two cards (for three more victory points, bringing my total to eight)
The Bloodknights maneuvered to charge...
AND FAILED.
This is probably the only reason I wasn't utterly wiped out on Round Two...
On the third round, Again I used Strike and Fade, Walkers on the Hidden Paths, and a card that did the same thing to move units to places away from the Vampires... though there really ISN'T any place on the tiny board that they can't get to you...
At least on MY turn, none of my army was dying!
In the end I held two objectives and scored a card and some points relating to the Twist, for another FIVE points - bringing my total to Thirteen!
I think I also brought back one of he Kurnothi - with the magical healing powers of the forest... or... something...?
The Bloodknights just wheeled around and charged EVERYTHING... and were joined by the Vampire Lord
The Deathrattle Skeletons and the Varghiests that arrived that turn tried to get in there... but couldn't make it..
They didn't really NEED to, though...
The Bloodknights just murdered the Branchwych and took out another Kurnothi.
the Soulblight Gravelords also scored five victory points bringing their total to fifteen.
I'd been just going through my deck, at the end of each round, if I hadn't used a card I discarded it... becaues I KNEW there was a card in that deck somewhere that...
Let me bring back a unit! And so I brought back the Treelord. It only had four wounds remaining... but it was there and it HIT HARD...
If it ever GOT to hit... I tried to charge the Vampire Lord, but it reacted with a card that allowed it to move.. it moved away, seized an objecive I'd flipped with one of the Twists... and ended up just far enough away that MY charge didn't make it...
I scored two points from cards... my final total being fifteen victory points.
Bloodknights murdered Kurnothi and Tree-Revenants... and healed up all their wounds - because, as it turns out, maple syrup is just as sustaining for vampires as blood!
and then the Vargheists and Vampire Lord attacked the Treelord... I THINK it was still standing at the end of the game...?
Regardless, the Soulblights scored FOUR more points, bringing their total to eighteen! So I only lost by three... which, I guess, is an improvement as all the other games I played I lost by four or five... or more...
I think I may have forgotten to use the Ley Lines ability for most entire game - at the end of every turn mine and opponents (so, twice per round) each friendly unit within 3" of any terrain feature is healed 1... would have been super handy... (I may have remembered it in the fourth round!?). Also, I still haven't entirely wrapped my head around how to properly use the Strike and Fade and Walkers of the Hidden Paths abilities (both abilities that allow me to remove units from the table and set them up again - at certain times and under certain circumstances...).. finding the best way to set up units to be able to make use of them... I did okay with it, better than previous game.. but I feel like I could do better with it... Also, it wasn't until AFTER the next game the following day that I can use a NORMAL MOVE ability BEFORE using Walkers of the Hidden Paths, to bring a unit closer to a piece of terrain to be able to move them about the board.
Ugggghhh... I'm back to feeling like I should just stick to role-playing games...
I like the IDEA of Spearhead, for many of he same reasons I LOVED De Bellis Antiquitatis and Hordes of the Things; smaller armies, small playing space, fixed army lists, quicker games, all the rules are in ONE BOOK (you don't need a $70 codex or Battletome for EACH ARMY you want to play).... but it isn't nearly as... elegant...? And, while I acknowledge that I'm just not that great of a player of games (and Orion is very, VERY good at games) I do feel like these armies aren't really as balanced... Not that all DBA armies were entirely balanced...
Anyway, still going to give it another go and see if I can get some more games in and get some more of the armies I have PAINTED!!
Although, maybe bouncing around from army to army, playing a bit of this and a bit of that, isn't the BEST way to learn. It'd probably be smarter to PICK ONE and just learn to play THAT ONE... but my momma didn't raise no geniuses!
I did get in another game the following day (Thursday) and I will have a game report for that at SOME point... Hopefully before I play some MORE games this week!!






No comments:
Post a Comment